Why do I need it?
FaceBook App ID is required in order to use the Facebook Messenger sharing button. If you are not planning to use Messenger sharing - you can skip this tutorial.
After you create your app and receive App ID - open the plugin settings page and find Facebook app id option and insert the newly created App ID into it.
How to create?
Please follow these steps to create FaceBook app and retrieve APP ID:
1. First of all make sure that you are logged in to your Facebook account. Then go to https://developers.facebook.com/ and click on My Apps -> Create App.
2. Choose Other and click Next button.
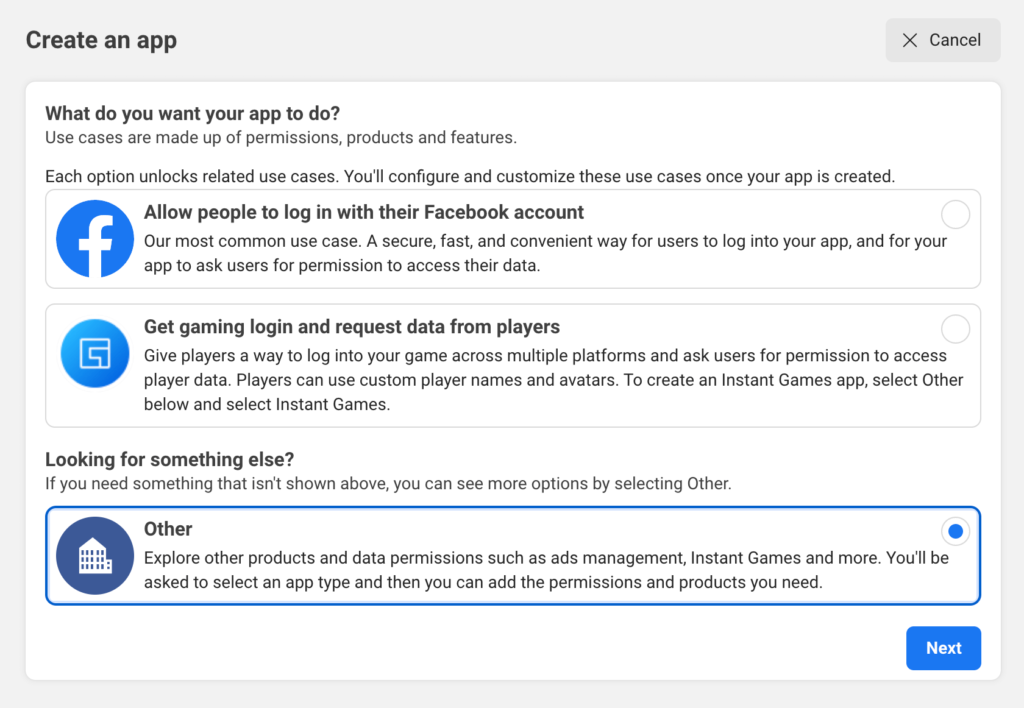
Choosing FaceBook app to create
3. On the next screen you need to choose your app type. For example - choose None and click Next.
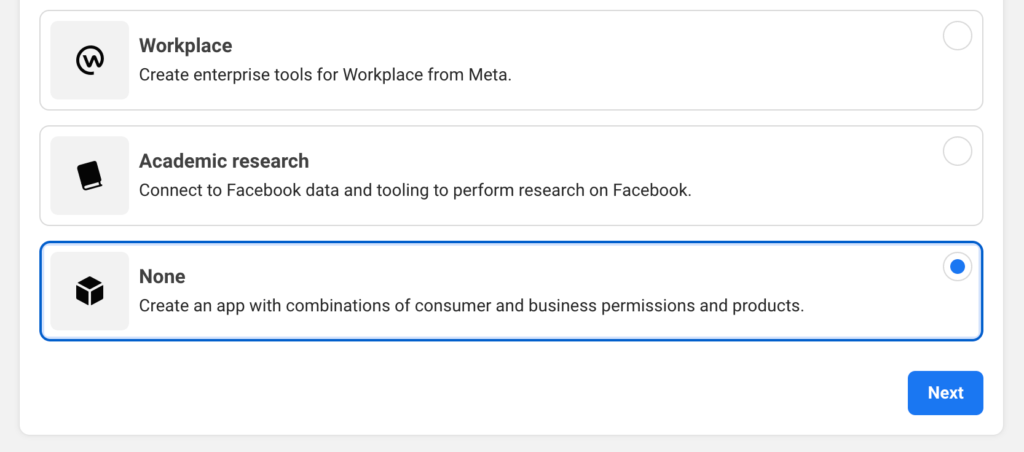
Choosing app type
4. On the next screen specify the app name and your email. Then click Create app.
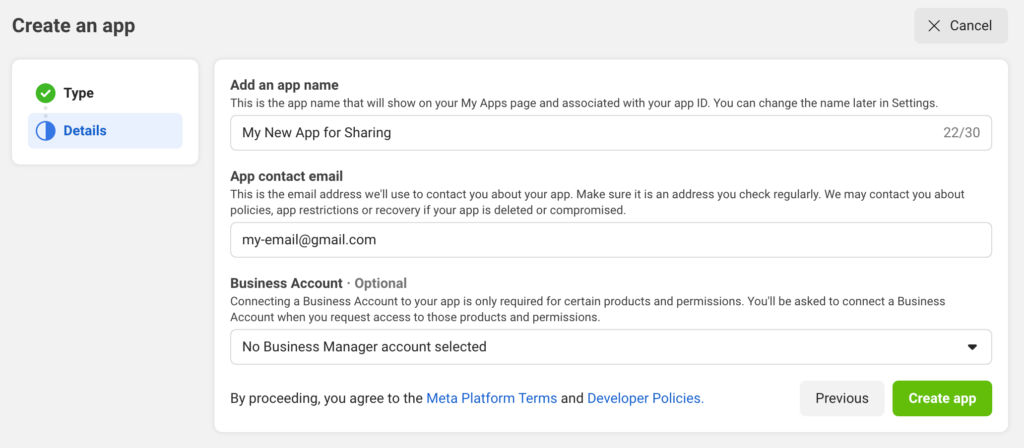
App details form
5. Your app is created. But it is not live yet. Now open App Settings -> Basic page.
Here you need to specify App Domain. In this field you must write a website URL where you will use a sharing plugin. For example it can be https://share-this-image.com/. Also specify Privacy Policy URL value.
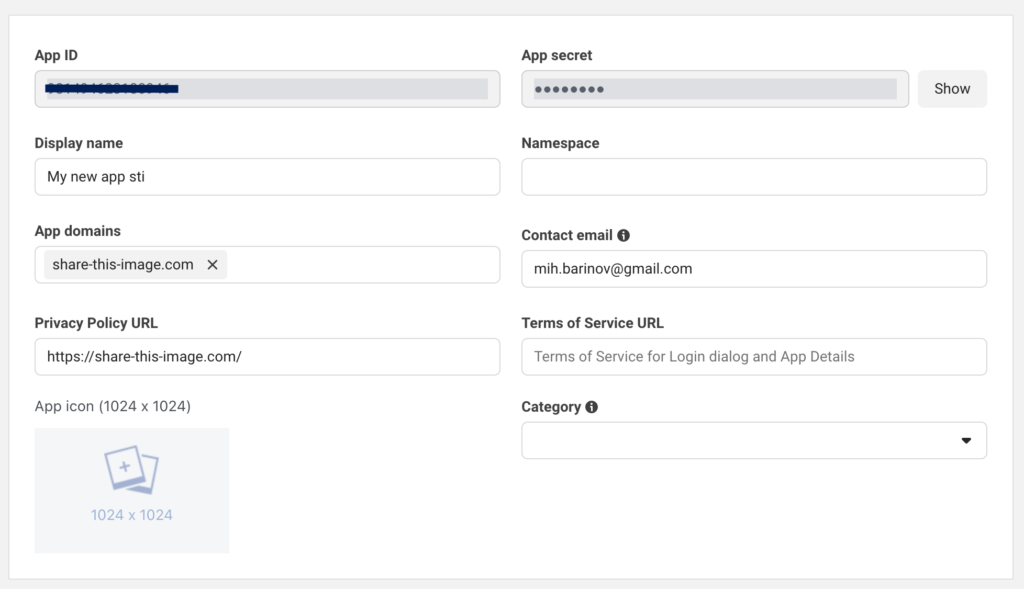
Facebook app settings
6. Now you need to switch your app from Dev to Live mode. Do this by switching toggle in the header or your app page.

Switching app mode
7. Go to Dashboard page and copy your App ID.
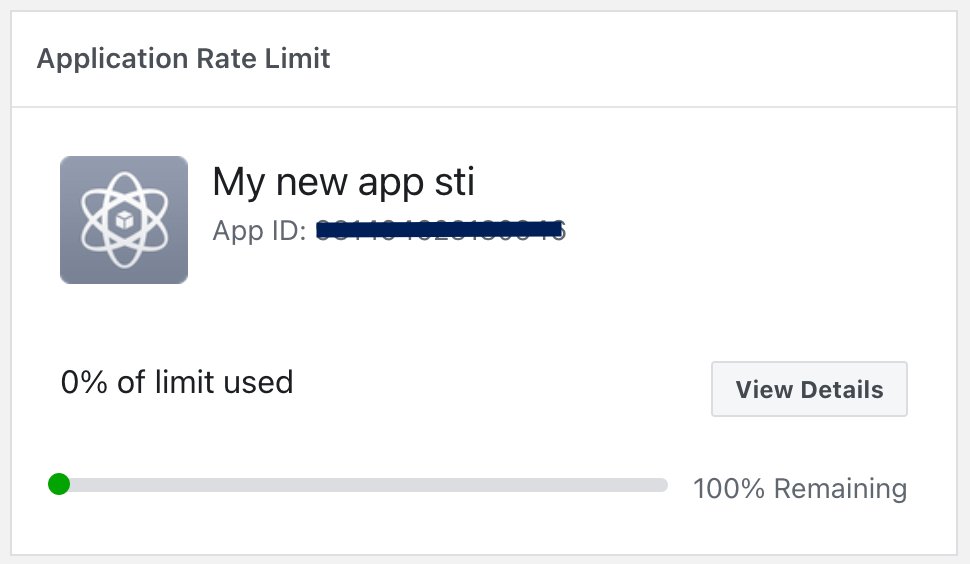
App data
8. Go to the plugin settings page and add your App ID to Facebook app id option

Plugin APP ID option
Congratulations! You just set up your Facebook App Id and you are ready to share images via Facebook Messenger.